2026 How to Cut and Shape Lucite Sheets for Your Next Project?
When approaching the art of crafting with lucite sheets, one must recognize the potential challenges involved. Renowned expert, John Williams, states, "Precision is key when shaping lucite sheets." This highlights the importance of accurate cutting and forming techniques.
The versatility of lucite sheets is both an opportunity and a challenge. They can create stunning projects, but improper handling can lead to frustration. For instance, achieving clean edges may require specialized tools that some hobbyists might not own. Adjustments and reforms can become necessary, leading to a slower process than anticipated. Users must be prepared for trial and error, as working with lucite sheets often reveals hidden complexities.
Mastering how to cut and shape lucite sheets can open doors to incredible DIY creations. Yet, it involves more than just following steps. It demands practice, patience, and clarity of purpose. Engaging with these materials can lead to surprising learning moments, urging us to rethink our approach each time we create.

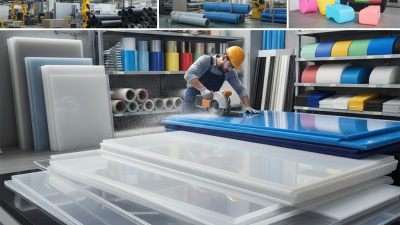
Choosing the Right Tools for Cutting Lucite Sheets
When it comes to cutting Lucite sheets, the right tools are crucial. A fine-toothed saw is often recommended for straight cuts. This minimizes chipping along the edges. A straight edge or a guide can help achieve clean, accurate lines. You can also use a utility knife for thinner sheets. Score the surface and then snap it along the line for quick results.
Consider using clamps to secure the sheet while cutting. This reduces movement and provides better control. For more complex shapes, a jigsaw can be effective. However, it can create uneven edges if you're not careful. Take your time to practice on scrap pieces first. This allows you to refine your technique without ruining your project. Make sure to wear protective eyewear. Safety is essential, especially when working with sharp tools. The right preparation can make all the difference in the outcome of your work.
2026 How to Cut and Shape Lucite Sheets for Your Next Project? - Choosing the Right Tools for Cutting Lucite Sheets
| Tool Type |
Description |
Recommended Blade Type |
Thickness Limit (mm) |
| Circular Saw |
Ideal for large sheets; provides a straight cut. |
Carbide-tipped blade |
10 mm |
| Table Saw |
Best for precision cutting; stable support for large pieces. |
Fine-toothed blade |
15 mm |
| Jigsaw |
Versatile tool for curves and intricate shapes. |
Specially designed acrylic blade |
5 mm |
| Straight Edge Cutter |
Hand tool used for straight cuts; requires scoring. |
Utility knife blade |
3 mm |
| Router |
Perfect for edging and detailed work on lucite. |
Acrylic bit |
10 mm |
Measuring and Marking Lucite for Accurate Cuts
Measuring and marking lucite sheets accurately is crucial for achieving clean cuts in any project. Start by laying the sheet on a flat, stable surface. Use a ruler to measure the desired dimensions. Make sure the measurements are precise. Even a small error can lead to a poor fit or wasted material.
When marking the lucite, use a fine-tip marker or a scribe. This ensures your lines are visible and precise. After marking, double-check your measurements before cutting. Sometimes, it's easy to misread a measurement after marking. Keep a close eye on numbers and lines to avoid mistakes.
**Tips:** Always wear protective gear when cutting lucite. Safety is paramount. If your cut isn't perfect, don't panic. A little sanding can smooth out rough edges. Consider practicing on scrap pieces before tackling your actual project. This can help you refine your technique and avoid costly errors.
Measuring and Marking Lucite Sheets for Accurate Cuts
Techniques for Cutting Lucite Sheets Safely
When working with Lucite sheets, safety should always come first. This material can be tricky to handle, and cutting it improperly may lead to accidents. Start with a clean, flat workspace. Use a sturdy cutting mat beneath to protect your surface and keep the sheets steady. Ensure you wear appropriate safety gear, such as gloves and goggles, to shield yourself from sharp edges and flying debris while cutting.
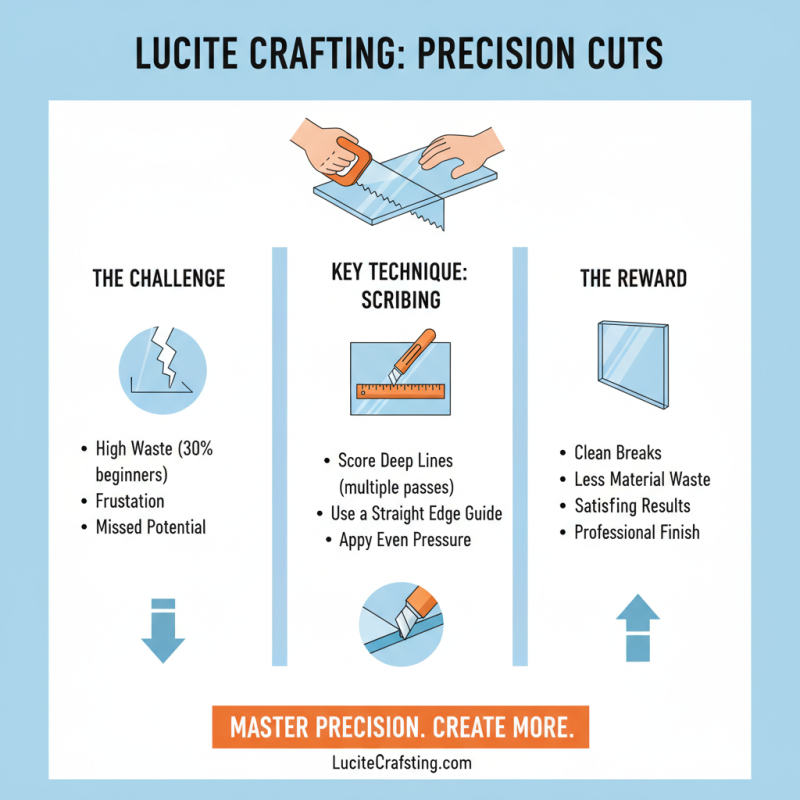
The ideal technique involves scoring the Lucite before snapping it. Use a utility knife for scoring. Apply steady pressure, but don’t rush. A clean score line is essential for a clean break. If the score doesn’t penetrate deeply, the sheet might fracture unpredictably, creating unwanted shapes. Sometimes, multiple passes are necessary to achieve an even score.
For intricate shapes, a jigsaw or band saw can work well. However, these tools produce heat, which can melt the material. Take breaks to let the sheet cool down. Notice how your cuts can produce uneven edges. Sanding can fix some flaws, but this adds time to your project. Keep these imperfections in mind to ensure your final piece is polished and safe.
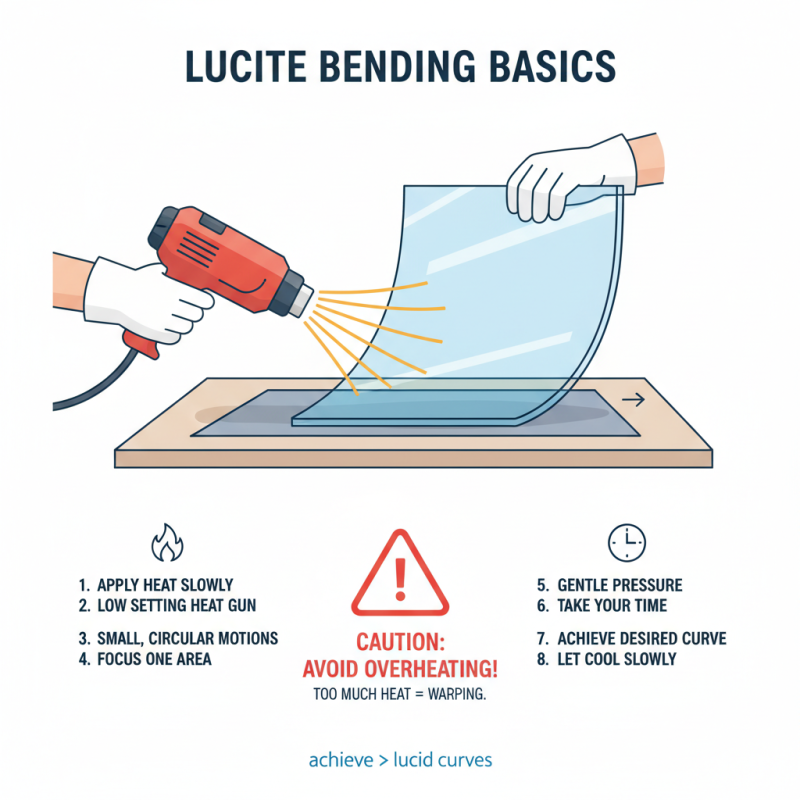
Shaping Lucite: Bending, Smoothing, and Finishing Edges
When working with Lucite, shaping it can be quite a challenge. Bending Lucite requires heat. Use a heat gun on low settings. Focus on one area, moving in small circles. Too much heat leads to warping. A gentle touch is essential. Take your time to achieve the desired curve.
Smoothing edges can also be tricky. Sandpaper is your friend here, but selecting the right grit matters. Start with a coarse grit to remove rough edges, then switch to finer grits for a polished look. Watch out for scratches; they can be frustrating. Sometimes, even the best techniques leave tiny marks. You'll need to be patient in this process.
Finishing touches add character. Clear acrylic polish can help, but always test it first. A small area will indicate how effective it is. If the finish doesn't look right, rethink your approach. Each piece you create should reflect your journey, imperfections included. Embracing the challenges makes the final product uniquely yours.
Tips for Working with Lucite to Avoid Common Mistakes
Working with Lucite can be rewarding, but it comes with challenges. Many crafters overlook key techniques, leading to frustration. Research shows that improper cutting can result in excessive waste. A staggering 30% of beginners discard materials due to mistakes. Understanding how to make precise cuts is essential.
When cutting Lucite sheets, use fine-toothed saw blades. This minimizes chipping and ensures a smooth edge. A speed of about 80-100 RPM is optimal for a clean cut. Always clamp your Lucite securely to prevent shifting. If the sheet moves, the cut could end up uneven. Additionally, overheating can warp the material, so take breaks during cuts to allow it to cool.
Despite these tips, mistakes can happen. If edges are not smooth, you may need to sand them down. A tolerance for imperfection is necessary. Learning from errors will improve your skills over time. Even seasoned professionals encounter setbacks. Remember, Lucite is an art. Experimentation is part of the process. Embrace the learning curve to enhance your projects.